Milk Sample Collection Technique for Bacterial Testing
Recommendations:
Prepare in advance all the necessary material: teat dip, gloves, clean towels, alcohol swabs, sampling tubes, tube rack, marker, ice and cooler.
Proceed with care, using sterile techniques.
Always take a sample prior to administering an antibiotic treatment. If you elect not to have the sample tested immediately, keep it stored in the freezer. This sample could become very valuable if additional information is required for treatment purposes. You can always discard it later.
Milk Sample Collection Technique for Bacterial Testing
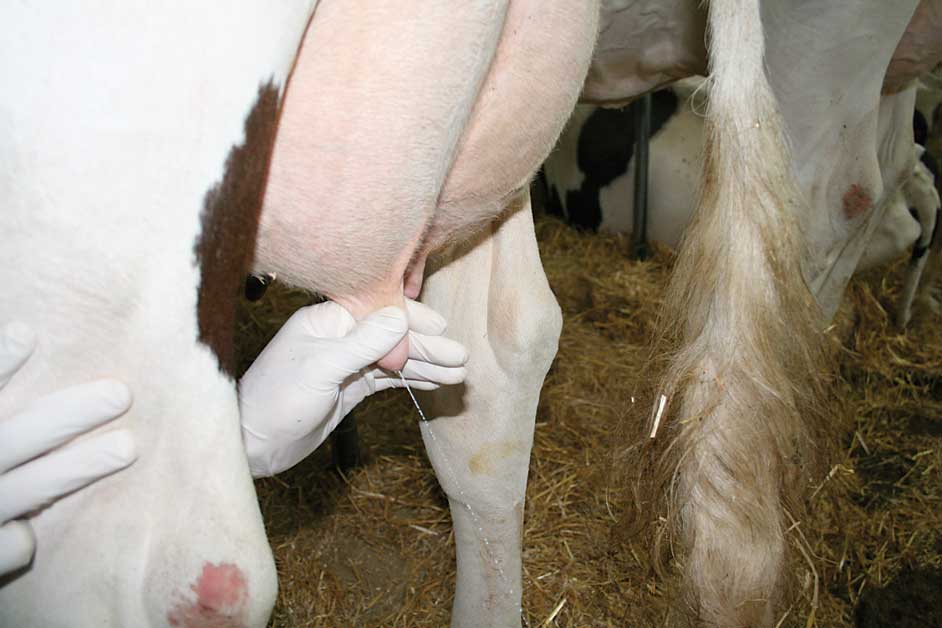
Step 1
After putting on gloves and cleaning the teats with a clean towel, draw a few streams of milk into a strip cup to reduce the number of bacteria in the teat canal.
Step 2
Disinfect the whole teat with a pad moistened with alcohol.
Step 3
Clean the teat end thoroughly with a new pad moistened with alcohol. Repeat if needed, until the pad remains clean.
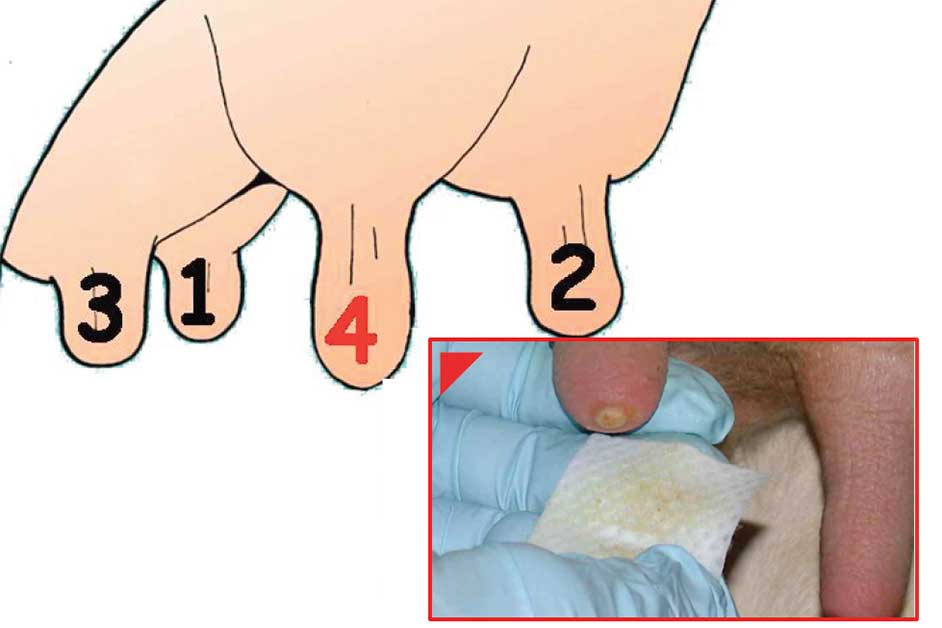
Step 4
Disinfect teats in the order indicated above: begin with the teat that is farthest away and finish with the nearest teat to avoid contaminating it with your wrist or sleeve.
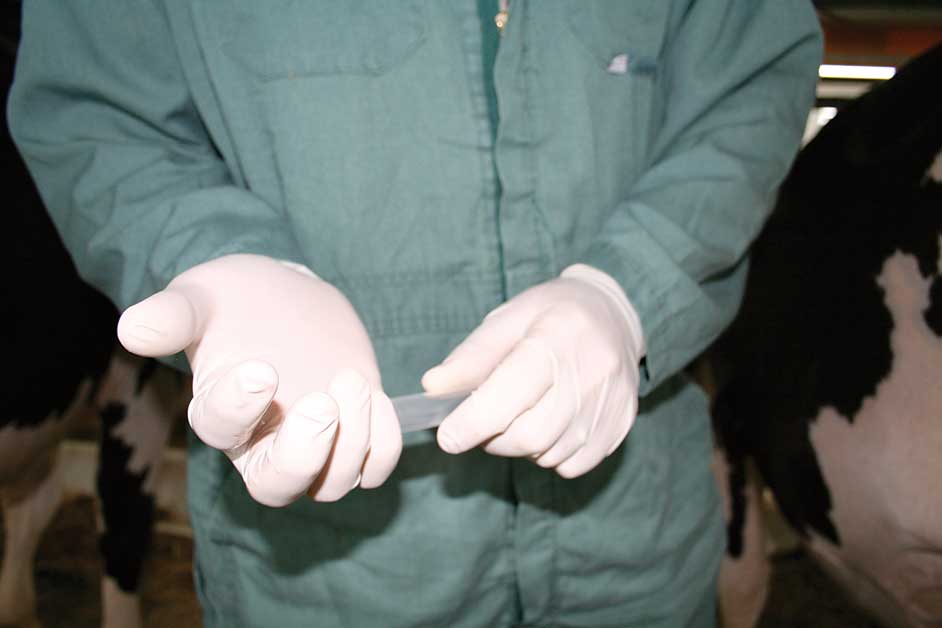
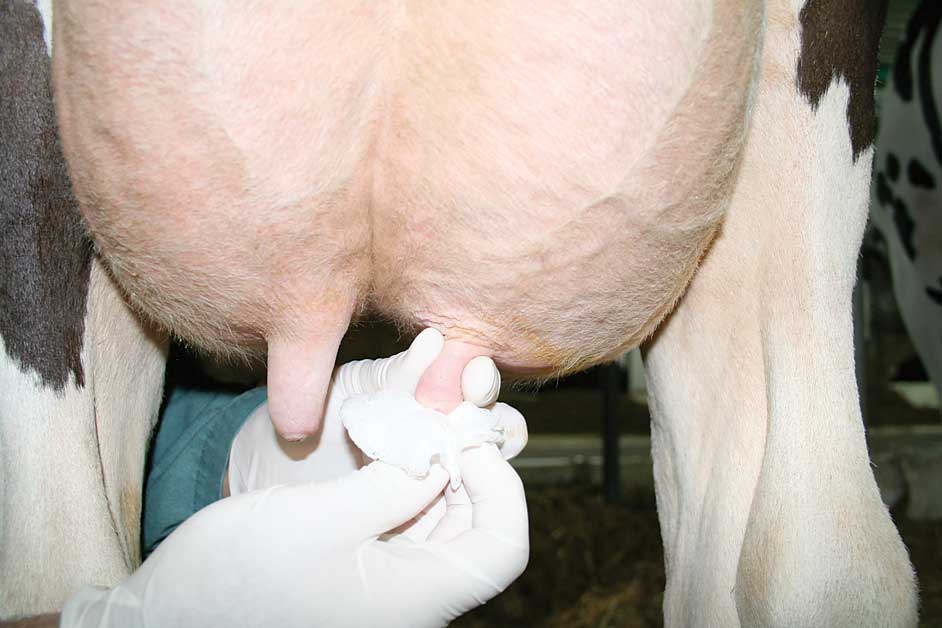
Step 5
Remove the cap from the tube, holding it with your little finger. Hold the cap so that the inner surface is facing toward the ground.
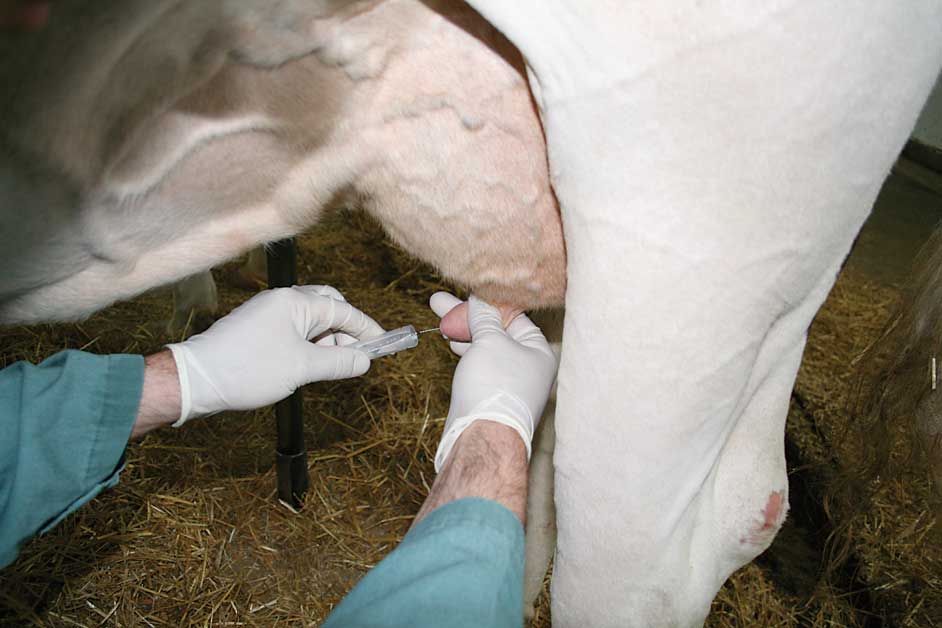
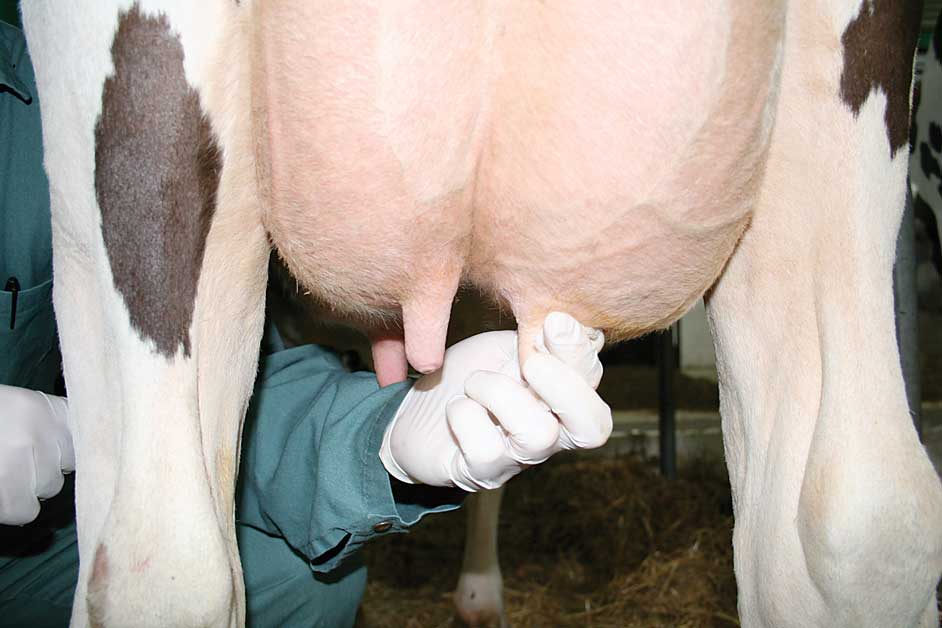
Step 6
Without letting the tube come into contact with the teat end, draw some milk into the tube. Hold the tube almost horizontally to avoid contamination from manure or bedding particles.
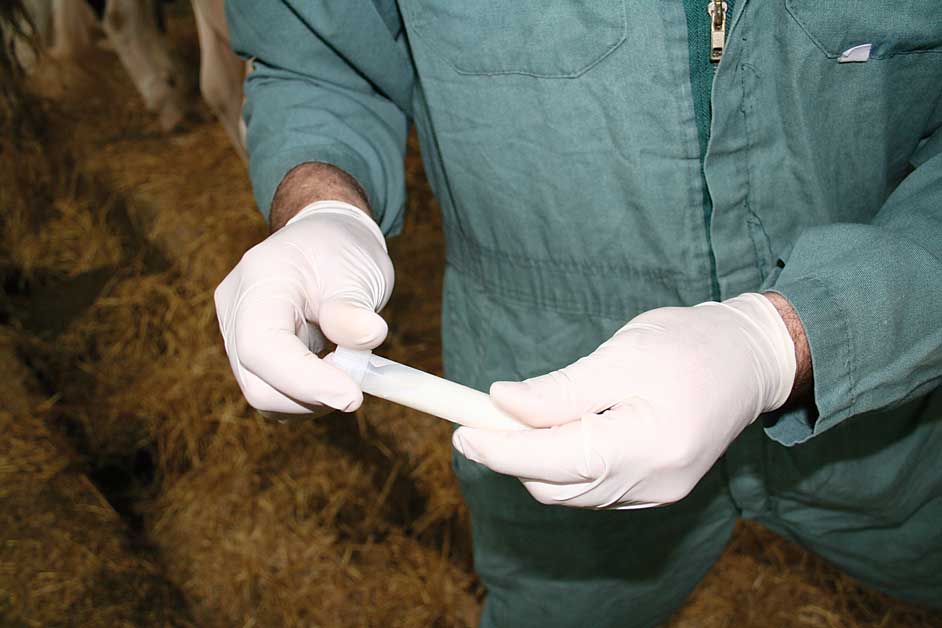
Step 7
For a composite sample, draw the same amount of milk from each of the four quarters. Once the tube is filled (maximum of 3/4), put the cap back on.
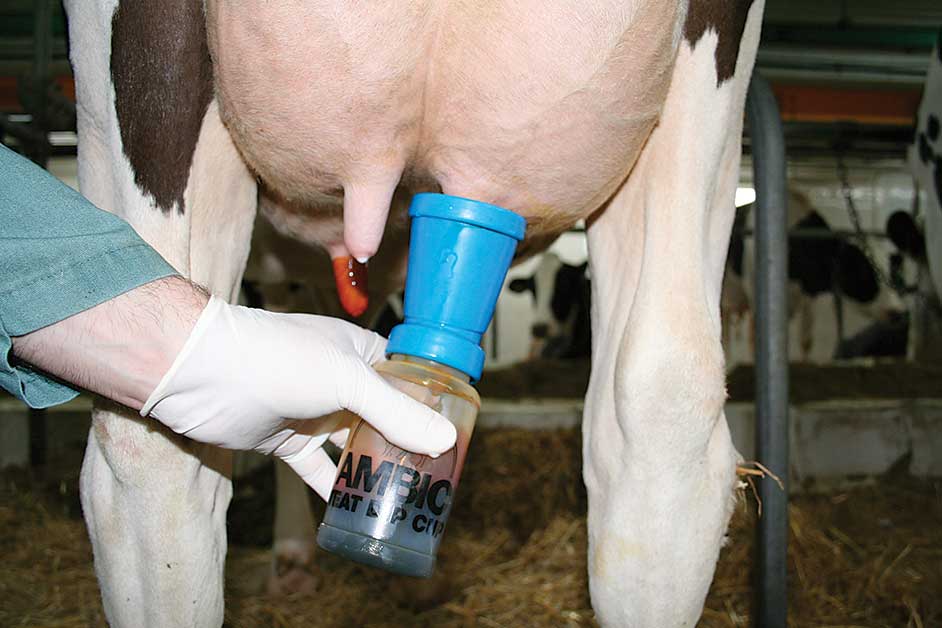
Step 8
Dip the whole teat in a disinfectant solution approved by Health Canada.
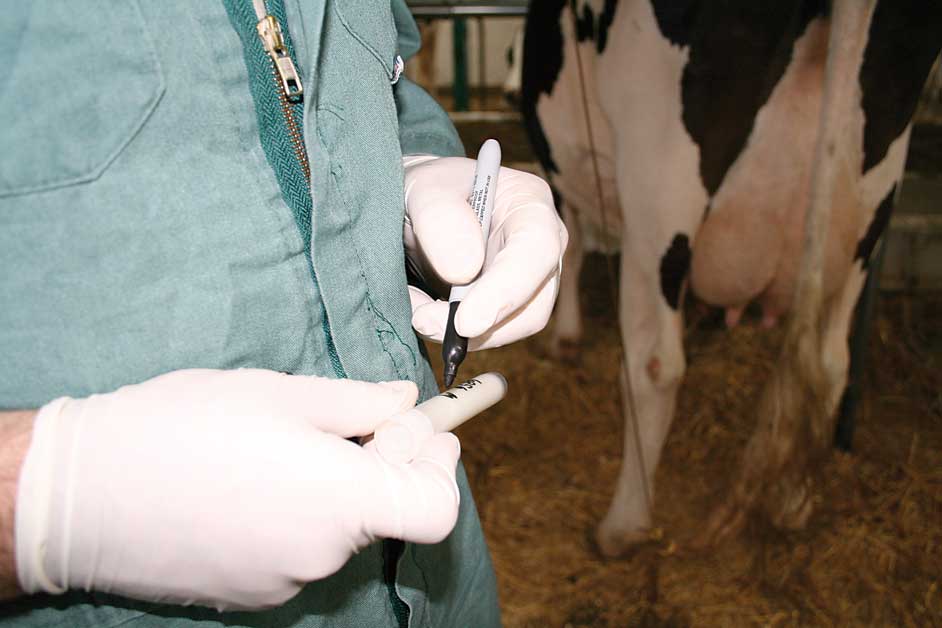
Step 9
Using a permanent marker, record on the tube: the date, cow ID, the quarter sampled and the reason for sampling. Use a rack to hold the tubes if you need to collect several samples.
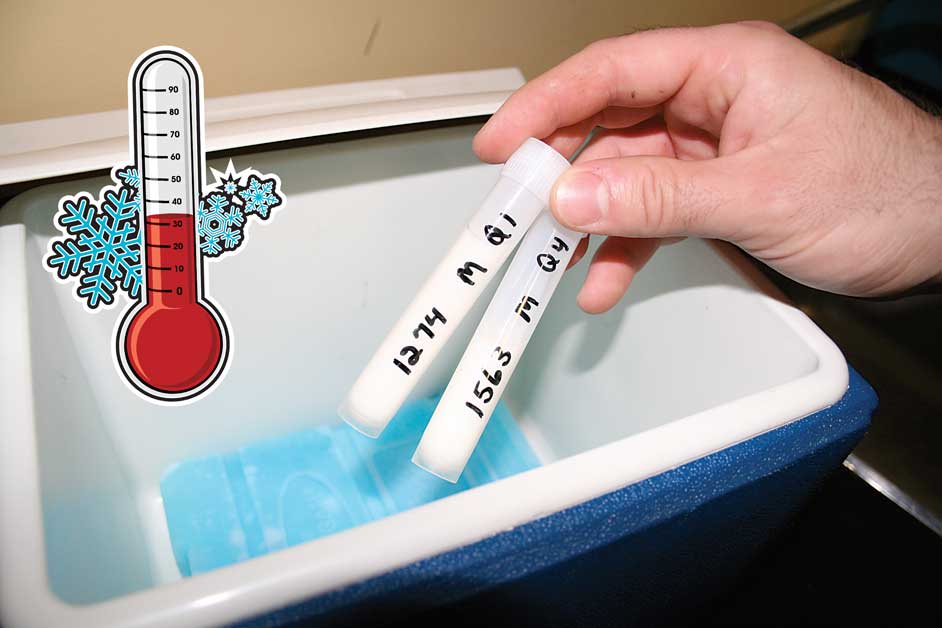
Step 10
Chill samples quickly by placing them on ice or in a refrigerator. Samples must be sent to the lab quickly. If that is not possible, freeze the samples immediately.
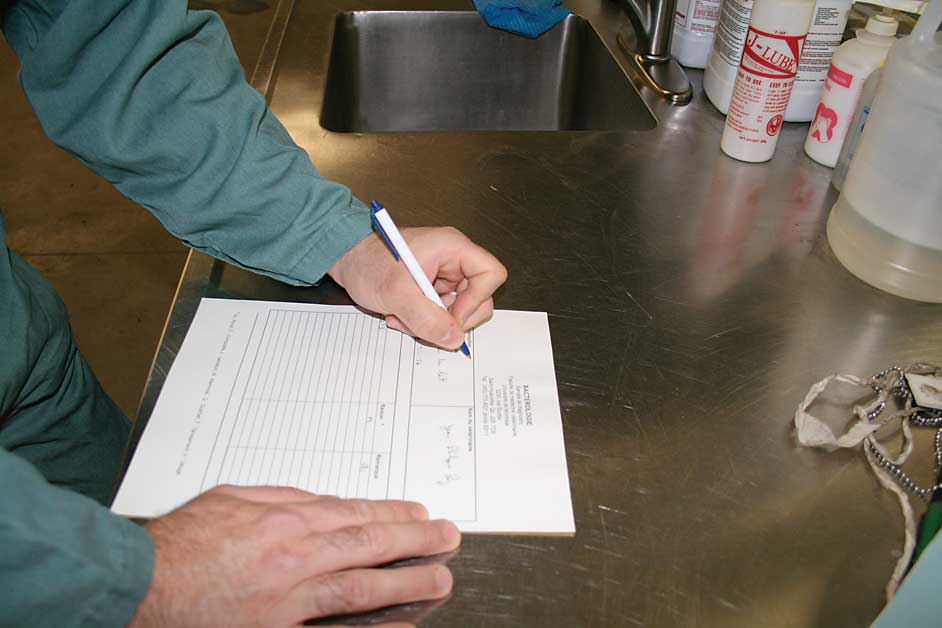
Step 11
A veterinarian must authorize the testing of milk samples before they are sent to the laboratory. A duly completed form must be sent along with the samples.
Sample storage:
Refrigeration: T° < 4°C – maximum of 24 hours.
Freezing*: T° < -20°C – maximum of 1 month.
*Testing for mycoplasms requires unfrozen milk.