Step-by-Step Milking Procedure
Recommendations :
Suggested milking order to avoid the spread of mastitis-causing bacteria:
1.
Healthy cows.
.
2.
Cows with a questionable health status (recent purchase, fresh, post-treatment).
3.
Cows with chronic mastitis.
4.
Cows with an infection caused by a contagious pathogen.
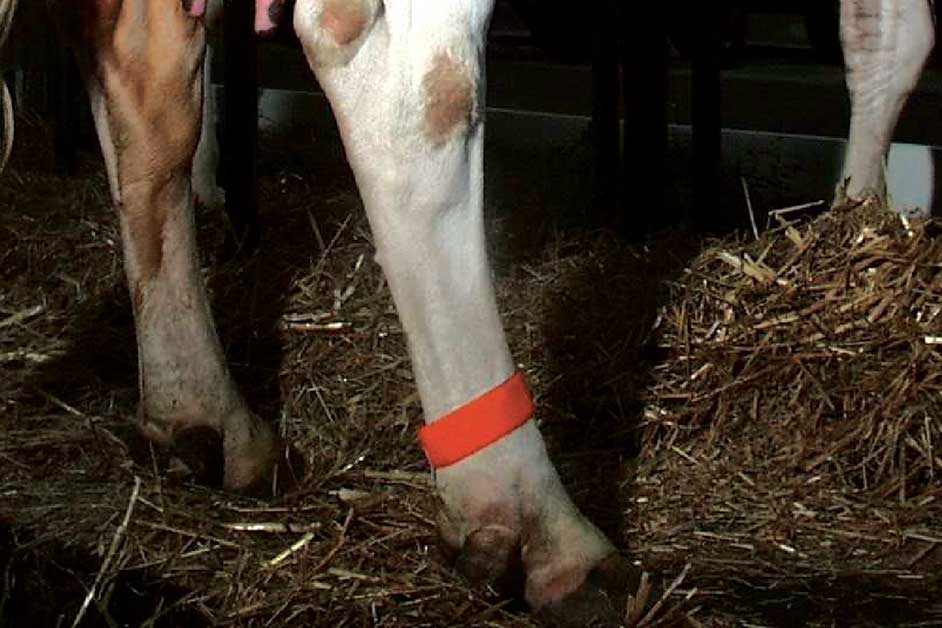
Step 1
Observation
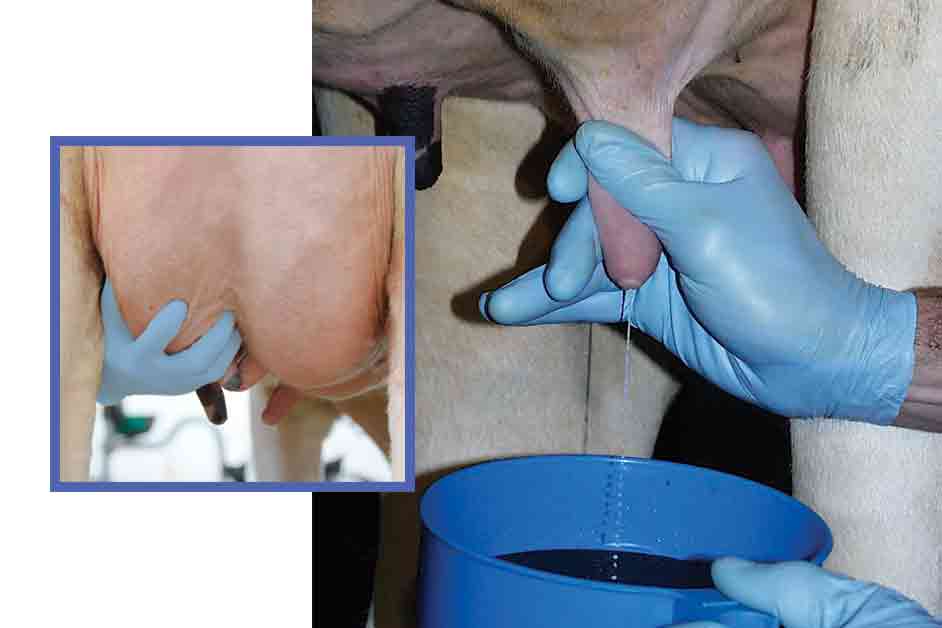
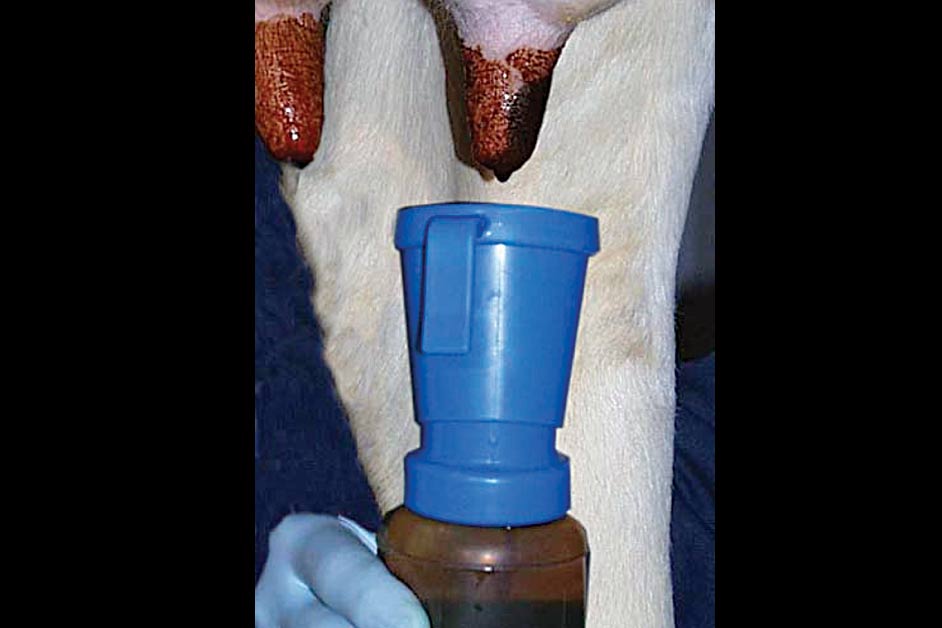
Step 2
Forestripping
In the milking parlour, the foremilk can be stripped on the floor, but never into the hand since this can promote further contamination. Forestrip all quarters. If milk is abnormal, examine all quarters and teats by hand to detect early signs of mastitis (redness and warmth) or other lesions.

Step 3
Cleaning the teats
Only the teats should be wetted and then thoroughly wiped with a dry single service towel. Pay particular attention to teat ends. Alcohol swabs may be used as a test of teat cleanliness.
The order of Step 2 and Step 3 can be reversed
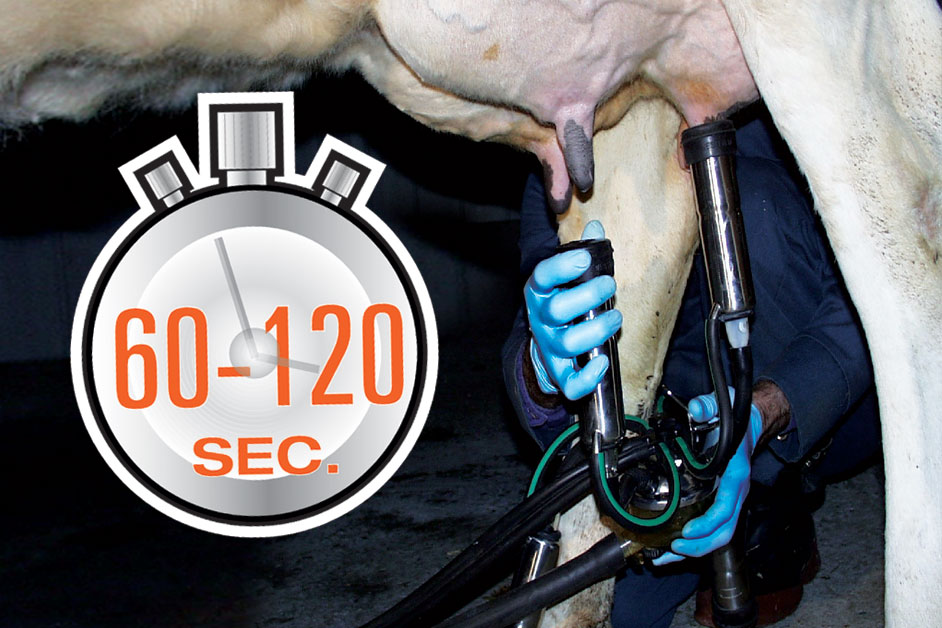
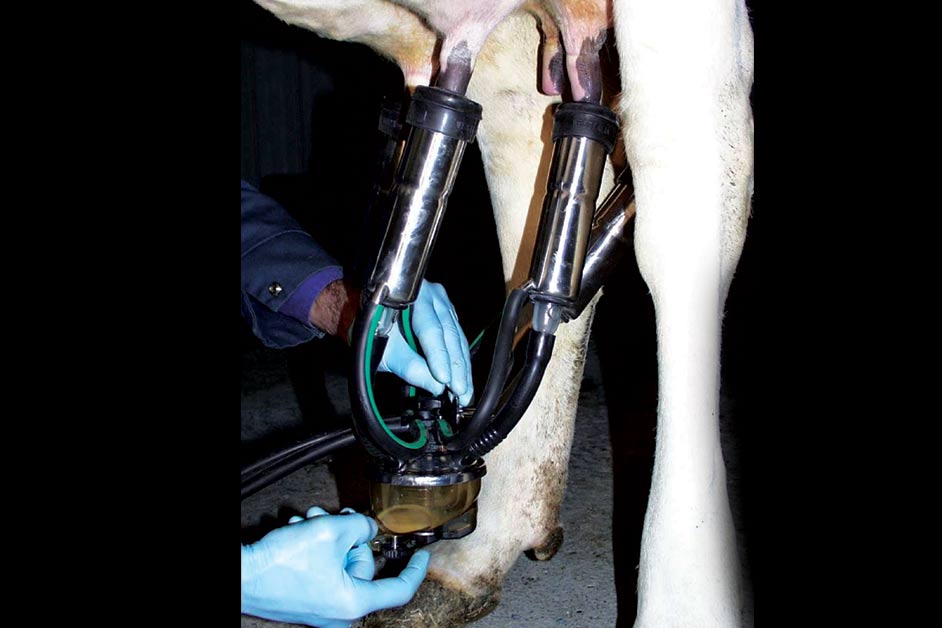
Step 4
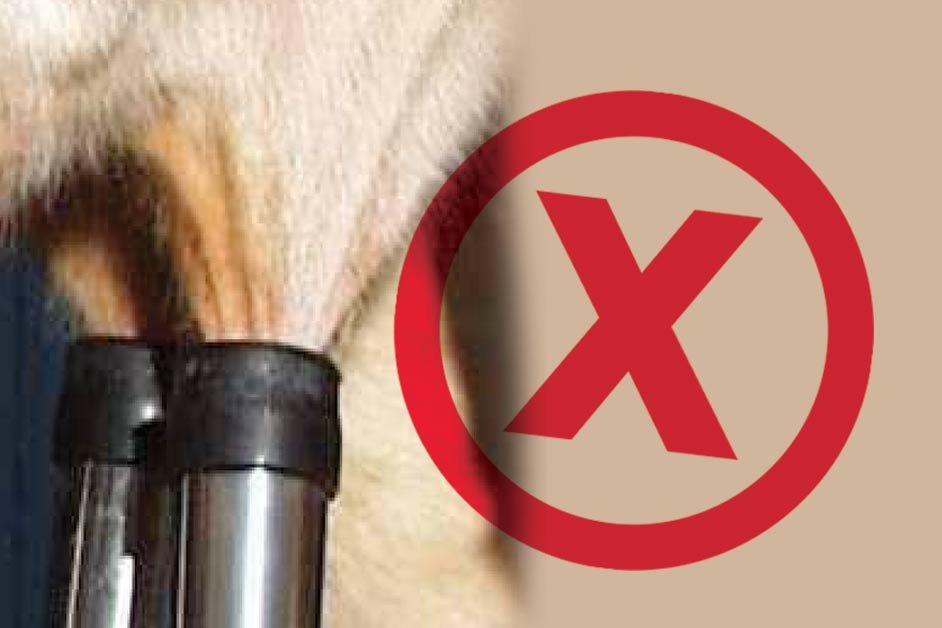
Attaching the milking unit
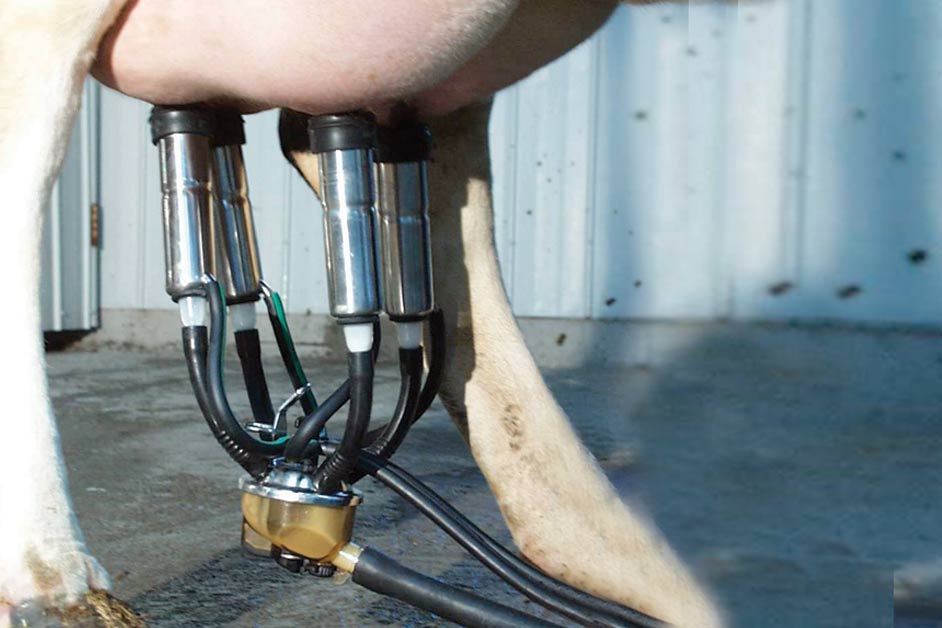
Step 5
Adjusting the milking unit
Step 6
End of milking
Step 7
Milking unit removal
Step 8
Disinfection